6.0 Conceptual artist
Christo and Jeanne-Claude
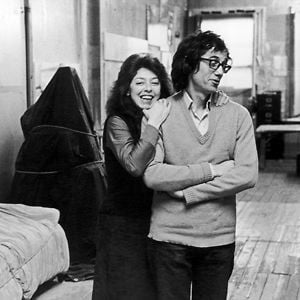
Figure
6.0: Christo and Jeanne Claude
(Vimeo, 2016)
Their installation artworks:

Figure 6.1: The Gates (Project for Central Park, New York City)
Collage, 1980
28 x 22" (71 x 56 cm)
Pencil, wax crayon, pastel, fabric, photostat and fabric sample

Figure 6.2: Wrapped Trees, Fondation Beyeler and Berower Park, Riehen, Switzerland, 1997-98
Photo: Wolfgang Volz
© 1998 Christo

Figure
6.3: The Floating Piers,
Lake Iseo, Italy, 2014-16
Photo: Wolfgang Volz
© 2016 Christo
Photo: Wolfgang Volz
© 2016 Christo
.jpg)
Figure
6.4: Wrapped Automobile (Project for
Studebaker), 2014
Comparison between the ‘philosopher’
and the installation art done by Christo and Jeanne Claude:
Christo likes to wrap existing
things like car and tree with clothes or with other materials. They also
allowed interactivity with the audience like the floating tiers allows people
to walk on it. ‘Philosopher’ sculpture allows people to interpret the message
behind the sculpture itself. It also reminds people every day that everyone is
related to each other in terms of being teacher or philosopher and helps each
other. The building of sculpture needs a lot of effort, time, energy to build
it same as floating tiers built by Christo and Jeanne.
Reference:
Christo, 2016, Christo and Jeanne-Claude, christojeanneclaude.net, Accessed on 10
December 2016, url: http://christojeanneclaude.net/
Artnet, 2016, Christo and Jeanne-Claude,
Artnet Worldwide Cooperation, accessed on 10 December 2016, url: http://www.artnet.com/artists/christo-and-jeanne-claude/


